Are you the sort of person who likes to jot down things on a tiny notepad? Once a treasured pocket accessory, the notepad has sort of disappeared ever since smartphones arrived on the scene.
With apps like Google Notes, Evernote and a gazillion other note-taking apps available in app stores, your smartphone is essentially a powerful notetaking tool with unlimited possibilities. From shopping lists to a one-stop destination for your office PDF files, these note apps can do a lot.
But why do you need to download a third-party notes app when your iPhone comes preloaded with one? That too a highly capable and powerful one!
Scroll through the seemingly endless home screens of your iPhone and you might find the Notes app tucked somewhere. While it appears to be a manufacturer-created bloatware at first, the Apple Notes app is a gem that could transform your productivity suite. Available on the iPhone, iPad and Mac, Apple Notes is essentially a one-stop solution whenever you need to jot down something or scribble with the Apple Pencil.
Being a free tool for iPhone users, it is possible that you may not be aware of some of Apple Notes’ cool tips and tricks. This is where our guide on the coolest tips and tricks of Apple Notes comes to help.
Hence, if you have decided to give Apple Notes a go, here’s our detailed guide on how to use Apple Notes like a pro with these cool tips.
Apple Notes tips and tricks: How to use the iOS app like a pro
While most of Apple Notes’ features are easy to grasp, we will be looking at the ones that could potentially improve your workflow drastically.

Will The Apple Watch Series X Be A Gamechanger? All The Rumoured Features That Indicate So
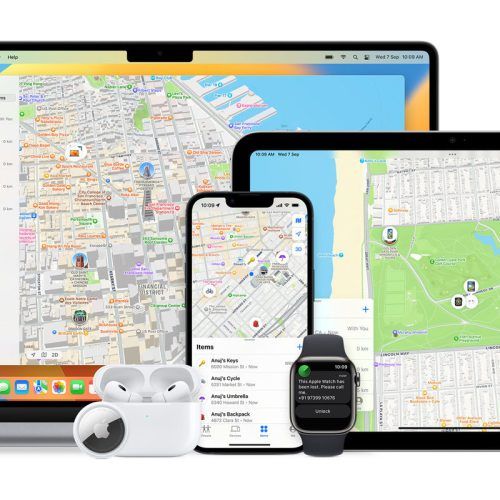
Android Find My Device vs Apple Find My: Which Is The Better Gadget Tracking Ecosystem?
1. Embed PDFs in Notes
Did you know that Apple Notes lets you embed PDF documents in a note? Whether you create a blueprint of the most complex office/college projects or create a database for personal research, this feature in Apple Notes is of great help. Here is how you can embed a PDF file in your note.
– Whether you have the PDF in an email or texting app, long-tap/tap on the triple dot menu and click the Share button.
– Once the Share menu opens, scroll through the list of compatible apps until you find Notes. Tap on it.
– Choose the specific note you want to embed the PDF file in and tap Save To. Then tap Save to complete the process.
– Once the PDF file is embedded, you get to alter its embed size, open it in full view, share it further with other apps and delete it.
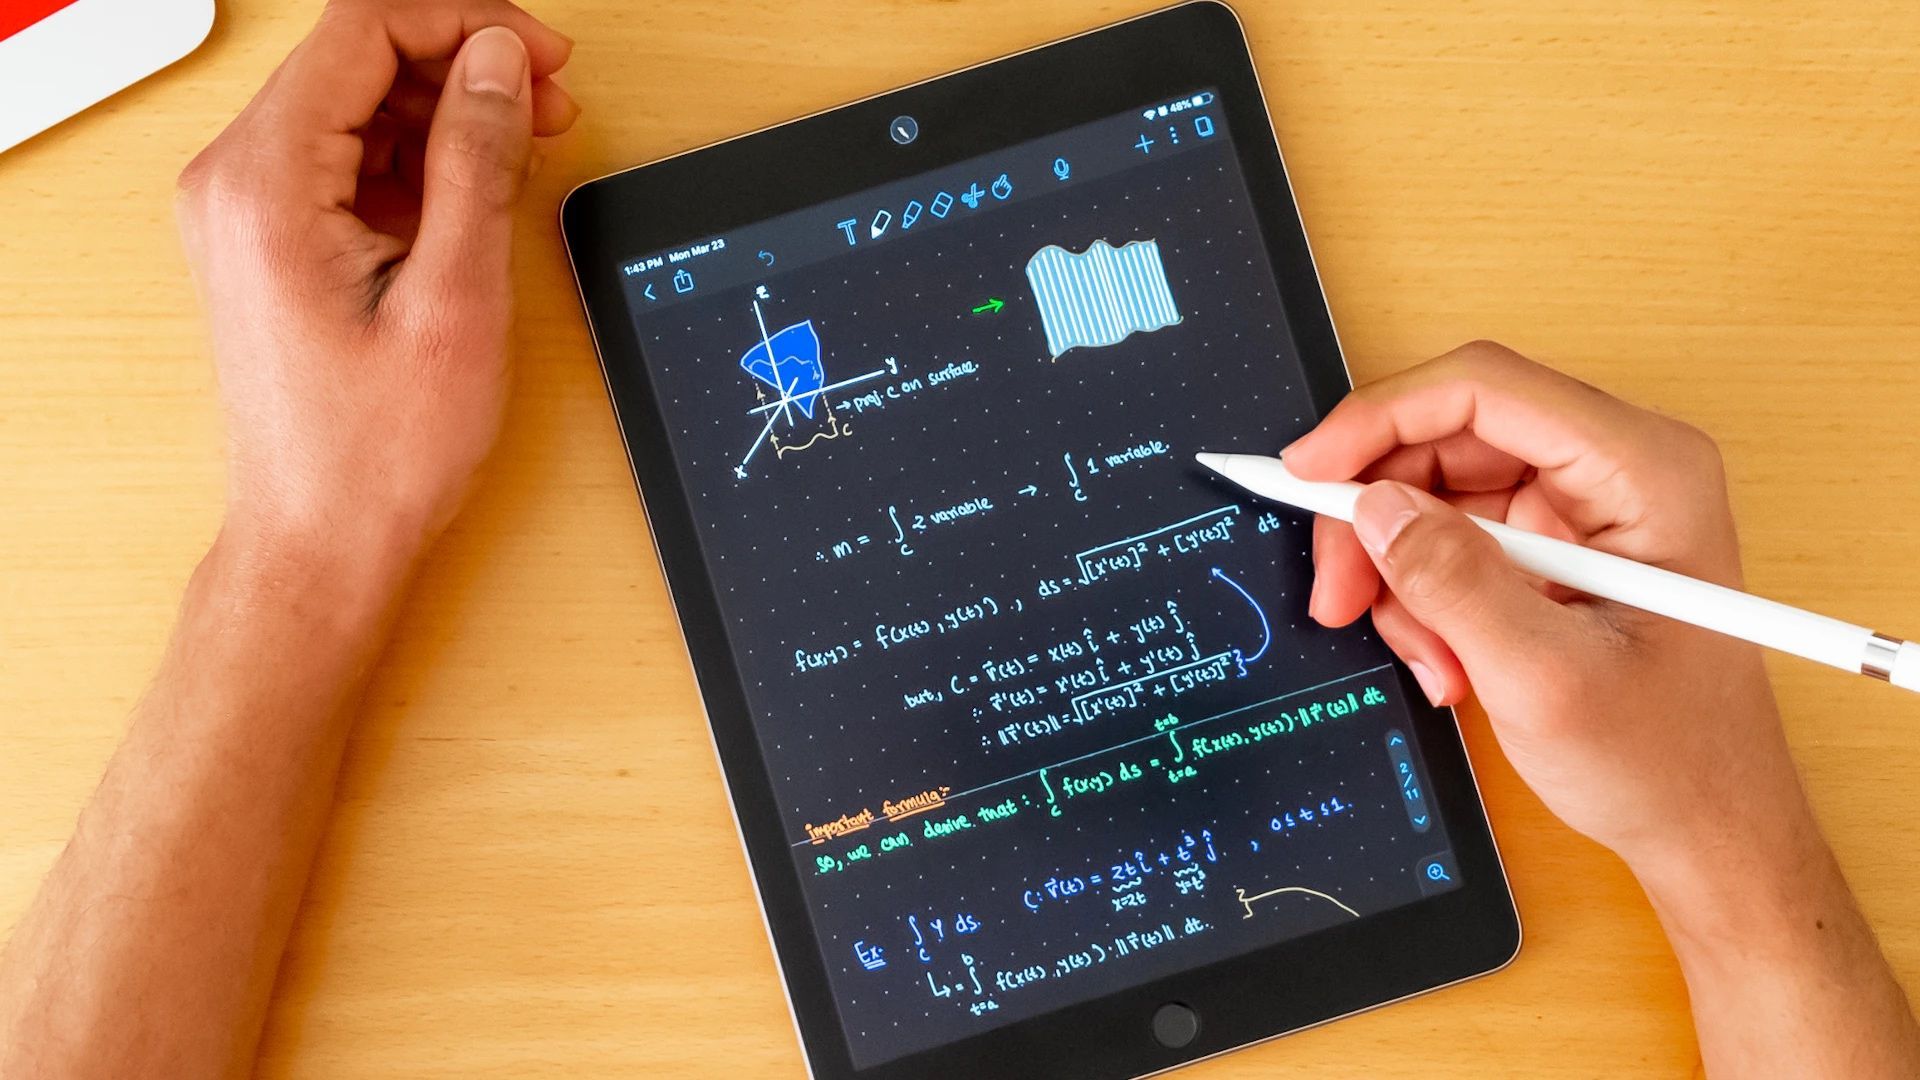
2. Show lines and grids for handwritten notes

If you love to take handwritten notes on your iPad, this feature of Apple Notes will be of great help. By enabling Lines and Grids, you get a good reference point for organising your handwritten notes neatly. Here’s how you can enable it.
– Open your desired note and tap on the triple-dot button to open the contextual menu.
– Now, choose Lines & Grids.
– You will be given a choice of various line and grid styles. Choose the one that suits your requirements.
– Once selected, you are now free to go ahead with your handwriting sessions on the grid and lines.
3. Change how new notes start
A new note in Apple Notes usually starts with a Title. However, you can always change it to a subheading or just a body text format by default. Here’s how to do it.
– Open the iOS Settings app and scroll down to Notes.
– Now tap on the New Notes Start With option. You can choose from a Heading, Subheading, Body and Title.
4. Enable passwords and screen locks
Although it isn’t advised, most of us like to store our account passwords and other credentials jotted down on a note. To keep such confidential data secure, you can always apply an additional layer of passwords and screen locks.
– While in your desired note, tap on the triple dot button to bring up the contextual menu.
– Now tap on the Lock option.
– You can choose to put in a custom password or use your device’s password. On your iPhone, you can also use the Touch ID/ Face ID to lock a particular note as well.
5. Save notes only to your iPhone
Apple Note usually saves all your notes to the iCloud account by default. If you want to save your specifically on your iPhone or iPad and not share it with other devices registered to your network, here is how you can do so.
– Go to the Settings app and scroll down to the Notes section.
– Here, you will find an “On My iPhone” Account option. Enable it to start saving notes to your device only.
6. Collaborate with others on a note
Just like Google Keep, you can use Apple Notes to create notes where your contacts can be the collaborators. This comes in handy for students and office colleagues working on a project who need a common place to store their ideas, files and everything else. Here is how you can share your notes with your peers/ contacts.
– In your desired note, tap on the Share icon.
– You will see the Collaborate button on top. You can tap on it to just send a copy of the note to someone.
– Once the Collaborate option is selected, you tap on the small permissions menu below to choose who gets to access the content and who else can see it.
– After you make your choices, you will see the icons of the collaborators on top of the note document.
7. Directly embed scanned documents
When working with documents, you can directly scan a physical document from within the Notes app. This helps to quickly create digital scans for easy access in a centralised place. This is how you do the process.
– When in the desired note, tap on the camera icon to summon the menu.
– Choose the Scan Documents option.
– Your iPhone or iPad will open the camera viewfinder. Bring the document within the viewing window and it will automatically take a photo.
– Tap on Save to insert the scanned document in the note.
8. Scan and copy text directly via the camera

This one is a boon for students and professionals. If you have to jot down a lot of material from the blackboard or a noticeboard, you can use the Notes app to scan the text directly and create its digital copy. This way, you save yourself from manually typing hundreds of words and sentences.
– When in a new note, tap on the Camera icon and select Scan Text.
– Point the camera viewfinder towards the source material.
– You will see your iPhone/iPad detecting a chunk of text within yellow brackets. Simultaneously, you see a preview of what can be copied.
– Tap on Insert to complete the scan.
Thank us later, students!
Google Gemini May Soon Come To Apple Devices: 5 AI Features We Can’t Wait To See On The iPhone
A Simple Guide To Using Your Apple Health Apps For Maximum Benefits
(Hero and Featured Image Credits: Courtesy Priscilla Du Preez via Unsplash)
Frequently Asked Questions (FAQs)
– How can I highlight text in Apple Notes?
To highlight text in Apple Notes, select the text and use the formatting options to make them bold or italic. You can also change their colour to something that pops off the page.
– How can I access templates in Apple Notes?
You can create custom templates in Apple Notes by making a folder, designing notes with your desired content inside, and copying them into new notes when needed.
– How can I share Apple Notes with other users?
You have to enable iCloud on all devices and then use the share menu in Notes to invite collaborators or send a copy via another app.
– Which is the best feature of Apple Notes?
‘Scan documents’ is the best feature for productivity-oriented users in Apple Notes.